My mother-in-law, Rosemary, died suddenly a week and a half ago due to complications with the surgery she decided in the end to have. Either way, she was faced with a terrible choice; a slow deterioration which could rob her of a meaningful life, or a risky operation which offered her a chance of total recovery or catastrophic failure. After a week in which her symptoms only got worse, she opted to take the surgery with the proviso that if anything went wrong, she would be allowed to die without intervention. The surgeries themselves went without a hitch; it was just her body's reaction to them that was the risk factor, and unfortunately the worst happened. She died after a very rapid deterioration in her condition a week and a half ago.
We said goodbye to her yesterday in a moving ceremony where my stepfather-in-law read out not only his own eulogy, but a letter Rosemary had written to her grandchildren. Each of the four grandkids was presented with a little enamel box and instructed to fill it with things that bring them happiness and that they'll only find these things if they go out and live their lives to the fullest.. If they aren't filled it's a sign that they are not trying hard enough. There was not a dry eye in the house. I'm typing through a mist of tears just thinking about it now!
We were expecting around forty people to turn up on the day, but were staggered to find nearly double turned up to farewell Rosemary. A true indication of a life well lived, even if it was cut short. She was only 69.
On to more happy things, as life does go on; my latest units off the workbench; An Italian Light Infantry battalion (the 1° Reggimento Fanteria Leggera) using HaT's light infantry figures and a couple head swaps on the officer and kneeling voltiggiatore. The link takes you to the Napitalia site for the regiment, but the details on that site don't mention plumes, so I used a little artistic license. My Italians have lacked a light infantry arm for a while now, so that hole has finally been filled!
The other finished unit is a white faced British infantry unit, either the 32nd or 59th Foot. They are not from the order of battle the rest of my British infantry are from, just an addition using the available flags I still have knocking around!
I decided on this colour scheme before I started research on what I needed to recreate the Albuera order of battle (a long-standing goal for my allied forces). I found out, too late, that there were no regiments with white facings present at Albuera! Oh, well....
I used a mix of figures, but gave them a touch of uniformity by giving them all heads from the HaT Peninsular War British Infantry set. I think it worked out well seeing there a figures from 3 different manufacturers; Strelets, HaT and Waterloo 1815. The command figures (except for one of the colour bearers) and grenadiers are all Strelets, the advancing figure in the forage cap and the figure ramming a cartridge down the barrel are Waterloo 1815, while the rest are HaT figures with their own heads! Apart from the chunky Strelets muskets, I think they match up quite well with the same heads. I'm pleased with the results anyway!
"Can yer mammy sew? Well, get her to stitch that!"
After finding out I'd shortchanged myself with the size of my British infantry battalions, I've started expanding or replacing my Peninsular War forces. First unit off the desk is the 92nd Foot, or Gordon Highlanders. My existing battalion was only 12 figures strong, when I could have had a 15 figure-strong battalion!
The new Strelets set of marching highlanders seemed to fit the bill, though I found out too late that they were all elite figures, all sporting shoulder wings. I shaved off the wings on the figures used for the centre companies, swapped a couple of heads for variety and stuck a couple of highland bonnet-wearing heads on a couple of HaT flag bearers. That worked quite well, despite them having their sashes around their waists instead of over their shoulders. There is a flag bearer in the Strelets set, but the figure has a moulded flag, and there is only one.
I varied the appearance of the figures with some head swaps; a wounded head from Lancier Bleu, and a Tam o' Shanter wearing one from the HaT command set. The wounded head conversion worked well, but the other on didn't so much; the collar looks much too thick and messy. I'm not sure why, because they were the same figure.
The full battalion in comlumn
Wounded head conversion.
HaT flag bearers with Strelets heads. Officer in full dress, including sporran!
Drummer and piper
Light company troops including (not so successful) head conversion.
I also have been working on a line battalion using the wonderful Hagen Peninsular Infantry set in their battered, hard-marching campaign best, so I thought I'd have a go at creating a couple of ensigns carrying furled and covered colours using HaT command figures. I'd finally managed to make two after much fiddling about with Milliput and thick piano wire and was ready to start painting. I hadn't reckoned on our newest family member, though, had I? We recently got a Jack Russell/Fox Terrier cross puppy, and she understands that anything that drops on the floor is hers....to chew. Obviously I hadn't caught up on the news!
There has been a distinct lack of hobby action of late, and like Jack Nicholson's character in "The Shining", cabin fever is setting in...
A combination of family commitments and it just being too damn hot (or humid, or both) have meant I haven't been to the club for weeks and painting has been a write-off. Why try painting when the paint on your brush dries up before it touches a figure? A slight exaggeration, but it's been consistently hotter and muggier since summer officially finished at the end of February, and that kind of weather is not conducive to painting, as you probably know all too well.
Anyway, things are looking up; I'll be going to the club this weekend and will probably play French this time. Several new players have been investing in British armies, so I'll give them some target practice. The Italians I painted up late last year will probably get their maiden run on the battlefield (queue routing markers!).
Because there's been a flurry of British regiments being created, there have been quite a few questions being asked on numbers and basing, and I realise my regiments are undermanned. My focus for when I get my mojo back will be to upgrade my British line regiments from 10 to 12 figures and Highlanders from 12 to 15 figures. I'm also planning to retire some of my older units and replace them with Hagen metal figures (marching and action) and the new Strelets Highlander range. The problem is, though, both ranges have problems: the Hagen figures don't have elite company figures, while the Strelets figures don't have centre company figures! I had ordered some Hagen marching light infantry to use as elite company figures, but when I got the parcel in the mail I found that they'd been replaced with extra centre company marching figures, instead. Consequently, I've used Milliput to make shoulder wings on a few figures. I'll see how they look once I start painting them. I've also laboriously carved off the shoulder wings from the majority of the Highlander figures, too.
Also, I will need to re-base my Spanish infantry, which I mistakenly based on the larger 2-rank base, instead of the standard 3-rank continental infantry. Plus, I plan to boost the numbers of Spanish infantry so that I can field a complete 1500 point Spanish army! "Why?", I hear you ask; well, I have a soft spot for the hapless Spaniards who kept getting up after being knocked down again and again! They embody the image of the plucky underdog, which appeals to my sense of justice. Plus, I have an ambition to win a game with them one day; if I can do that, then I know I'll have made it as a player! That's the same reason I'm still plugging away with the Neapolitan project, too.
I went to last Saturday's club meeting with Vince in tow to show him how it's done. After this lesson, I'm not sure if he'll thank me!
I'd accepted a challenge from Ian KH to meet his 1/72nd French on the field of battle with my Anglo-Portuguese forces. I'd gone for an infantry-heavy force with only one full strength light cavalry regiment and a smaller heavy cavalry reserve. It turned out Ian had gone with not only two full strength cavalry regiments, but also two small light cavalry units, which turned out to be a real fly in the ointment. Still, if I played my cards right, I could defend against his cavalry and fight an infantry battle to secure a draw, if not a victory. That was my plan, anyway.
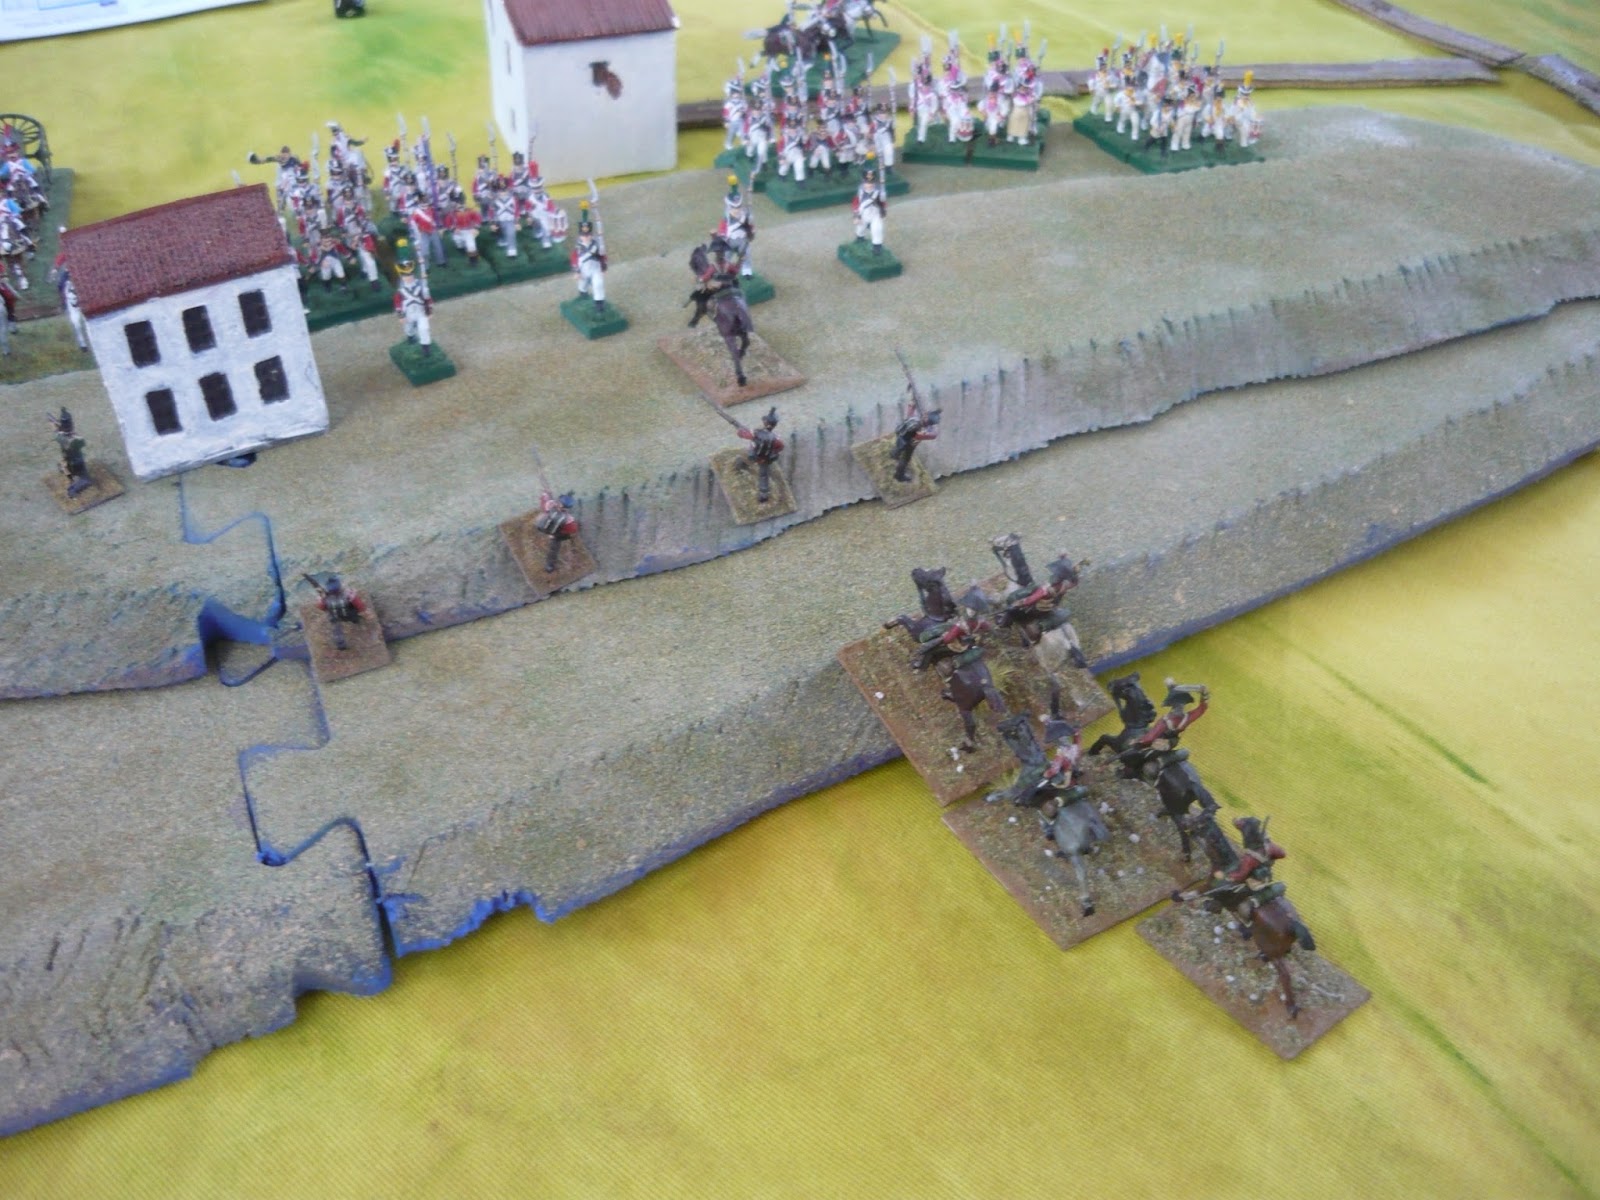
Ian won the initiative roll and immediately took the ridge. Most unsporting of him; ridges are British property, I say! My skirmish line was countered by his small cavalry units, forcing them to the right of the building on the ridge summit, where they skirmished with their French counterparts. My skirmishers defeated their opposition and then peppered the nearest formations, adding disorders to their ranks.
I thought I'd be clever and counter Ian's iddy-biddy cavalry with my heavy dragoons in the centre. This had the desired effect and certainly slowed the centre of his line, which formed squares to counter the threat, but at a cost of keeping my only cavalry reserve committed early in the game. His light infantry brigade on my right flank steadily advanced and his main cavalry force on my left kept my lone full strength cavalry regiment mesmerised like a cobra confronted by a pair of mongooses (...mongeese?).
After I'd scared his central Dutch brigade into square I didn't have an artillery battery or infantry regiment close enough to exploit the opportunity. I then made a rash decision to break my defensive line and sent the 50th Foot forward to engage the squares. Unfortunately I didn't get the sequencing of this advance quite right and left the infantry exposed after I'd moved my cavalry first, thus preventing them from taking the opportunity charge in support of the infantry when Ian's cavalry inevitably took their own opportunity charge. Hence the lemur's wisdom at the top of the report! Still, that was no biggie, as the infantry were only forced to retreat and would later return to the fray.
What was a biggie, and what I hadn't even considered, was that Ian would split his cavalry force on my left and send his dragoons angling into the flank of my infantry line, rather than keep them all concentrated on my own cavalry. Why I didn't see this is beyond me; really it was the obvious thing to do and left me high and dry: if I formed square I'd be at the mercy of his artillery and infantry which had held their attention, and if I moved backwards into cover I'd chance causing an opportunity charge. In the end I chose another (and probably the worst) option; do nothing.
Why I did that was because I intended to fire into the dragoons' flanks with the horse battery. In another flubbing of sequencing, I moved the cavalry before I turned the artillery in preparation to fire. Of course, Ian took the opportunity charge, and as I'd already moved my cavalry I couldn't counter-charge in support! D'OH!!Listen to the lemur (I think I'll have to put it on a t-shirt)! The lancers charged, wiped out my horse battery, and careered into my stationary light dragoons, ending in a draw (which I didn't deserve for such a bone-headed move). Having staked everything on the artillery flanking fire forcing the dragoons to retire, my infantry were now in deep doo-doo!
My heavy dragoons spanked Ian's chasseurs in an opportunity charge, but after that last hurrah it was all downhill. The dragoons charged my line of highlanders who tried to form square and failed due to the narrow distance in between them. They would have been better off standing and firing because they would have emptied at least one saddle which would have affected the pre-melee check. Anyhow, I am the King of Wishful Thinking (see below*). The highlanders were caught milling about after failing to form square and were sent packing. The French dragoons went slicing into my line dealing death to everything in their path. Ian's infantry then came down off the ridge to put the finishing touches to my discombobulation and, for good measure, launched an assault on my right.
Game over!
The Anglo-Portuguese under starters' orders
The Franco-Allies make the first move
French, Dutch and Swiss
The Swiss brigade...
....and the Dutch
The French cavalry make their move, with the lancers leading
I formed a defensive line with the Portuguese in reserve.
Light dragoons and horse guns protect the left flank
"Hold fast, boys!"
The thin red line supported by the donkey wallopers of the 4th Dragoons
The Dutch come on in echelon to support the French light infantry on my right.
Skirmish line advances
Cavalry standoff on my left flank. The guns couldn't hit a thing that day.
Ian throws out his own skirmish line.
My dragoons advance, throwing out a vedette, which causes a halt to Ian's advance in the centre.
The 50th Foot advance across the farmland to threaten the squared up Dutchmen.
Ian's chasseurs advance to threaten the dragoons' flank and my advancing infantry.
After putting the dragoons in echelon, I then stupidly advanced the infantry into Ian's opportunity charge range, not allowing my dragoons to support their advance. LISTEN TO THE LEMUR!
The 50th retreat beyond the line, while the Portuguese cover them.
The 1st Provisional Regiment advance out into the farmland to take the 50th's place.
The 6th Dragoons awaiting developments
Back on the left, the 92nd suddenly realise how much danger they're in. If they go into square now....
....they've still got all that infantry ahead of them, not to mention the battery of guns to their front.
In the second Listen to the Lemur moment, I caused the charge on my guns after moving my cavalry.
Guns wiped out, cavalry charged while standing still....
...ends in a retire, which I had no right to expect!
In their last hurrah, my dragoons take an opportunity charge as Ian's chasseurs try to be cheeky.
Unfortunately, they went battlemad and came a cropper against the Dutch square on top of the ridge.
Now the wheels fall off! The highlanders are caught after failing to form square. Note to self; Shoot the buggers, next time!
Being the tough nuts they are, they retreat, rather than break, though they've taken casualties and copped disorders.
The dragoons then crash into the artillery...
...and then into the Portuguese column!
A nice big gap for Ian to exploit!
His survivng small detachment of hussars then punish my blown dragoons with a flank charge.
The highlanders recover, but it's too late!
The Dutch give the coup-de-grace to the dragoons
The Swiss advance off the ridge...
...and crash into my disordered line, shrugging off the flank fire to put an end to resistance in the centre.
On the right flank, the French light infantry charge, punching through the Buffs, despite some heavy fire.
*Aaah, the early '90's; back in the day when mullets and bike shorts were cool!