 |
| Austerlitz battlefield viewed north from Sokolnitz in the foreground |
Following on from the previous Austerlitz post, poor old Philip's 3rd Column were in all sorts of bother, my 2nd Column was getting ideas above its station, Advance Guard and 1st Column were systematically taking Sokolnitz from the French and then ordered to halt on the eastern bank of the Goldbach. Further north, the French were holding the northern flank while preparing for an all-out attack in the centre.
 |
| Lannes and Bernadotte form refused flank on Bellowitz. |
 |
| Soult puts paid to 3rd Column in an all-out brigade charge. |
 |
| 3rd Column disintegrates as it flees across the farmland adjacent to the pheasantry. Mixed-up brigades negated attempts at rallying the command, so off the board it fled! |
 |
| My commanders of 2nd Column look at the unfolding disaster on their right flank with some concern! |
With the collapse of 3rd Column and aggressive movement in the centre, orders came down the chain of command for the Advanced Guard, 1st and 2nd Columns to start transferring their forces towards the centre.
 |
| Advanced Guard cavalry move towards the centre. |
 |
| Having just occupied Sokolnitz, 2nd Column leaves to take up new positions to the north. |
 |
| The rest of 2nd Column pulls back from the Goldbach to face Soult's troops on the other side of the pheasantry. |
 |
| 3rd Column continue their rout, impervious to their commander's pleas! |
 |
| The Austrians of 4th Column face French to the front... |
 |
| ...and to the right... |
 |
| ...as well as across the creek further to the right in a big zig-zag. |
 |
| Russians of 4th Column kept busy with advancing French, including the Guard! |
 |
While the Allies in the centre await the moment of crisis, Paul (Dr. Love!) of 1st Column takes the Alfred E. Neuman attitude:
"What, me worry? |
 |
| The problems with a refused flank: with a gap opening between the two units of the angle, the line facing forwards receives a flank charge, while the unit supposedly protecting its flank is heavily engaged. |
 |
| Then the whole line gets rolled up, as the triumphal French attack runs amok down the Austrian front line! |
 |
| Austrian battalions routing to the rear past the Emperors and their retinues on the Pratzen Heights! |
 |
| Further north, the Russian cavalry tries to put a stop to the rot, but the French manage to from square in time to meet the charge! Note the French Guard infantry at the top of the picture. |
 |
| Even further north, the Russian Guard goes into action, pushing into a gap in the French line. |
 |
| Confused cavalry action on the flank of the Russian Guard infantry. |
 |
| The Guard's target; the French refused line, which has given up Bellowitz to the Russians |
 |
| Back in the centre, the Russian cavalry fall back after rough handling by the infantry square, and the Imperial Guard advance through the vineyards. |
 |
| The Cossacks sheltering behind the vineyard from the Guard Chasseurs get a nasty surprise as the Italian Guard marches up on their flank. Amazingly, the Cossacks survive the morale check caused by the flank fire! |
 |
| Chasseurs of the Guard advance on the southern flank of the vineyard. |
 |
Things are getting serious, now!
Gaming into the night. |
 |
| La Garde charges the Russian line, pushing back, but not breaking the opposition |
 |
| In a fog of war moment, the rest of the French infantry neglected to accompany the Guard in its charge, leaving them high and dry! |
 |
| With Russian cavalry in their left flank, the Guard were out on a limb without any reserve support to speak of. |
 |
| Back at the pheasantry, French and Russian skirmishers advance into the farmland, while the rest of 2nd Column forms up on the edge of the field and move around the edge. |
 |
| Davout's penny-packages of cavalry head north to confront the shifting Russian dispositions |
 |
| Grim looking French commanders |
 |
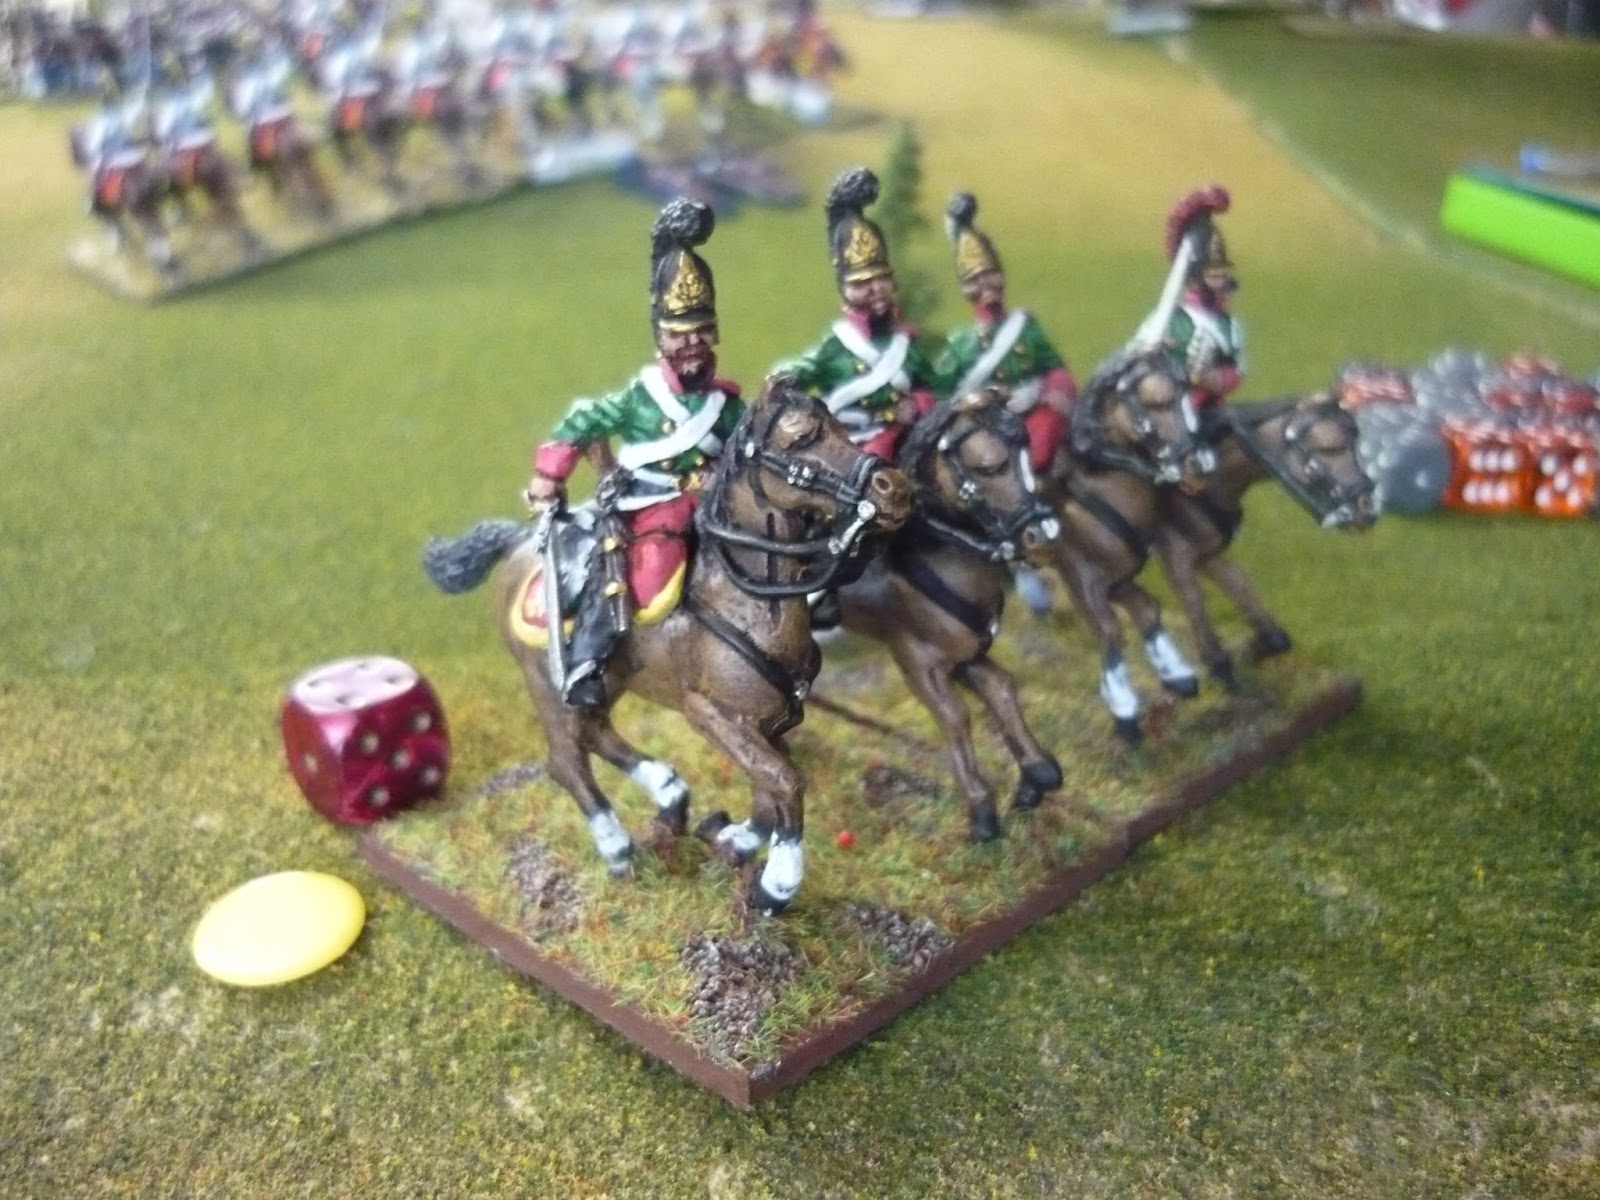
| Fanagoria grenadiers of 2nd Column move around the ploughed fields behind the cossacks of the Advanced Guard. |
 |
| Austrian Hussars from the Advanced Guard threaten Soult's troops near the Pratzen Heights... |
 |
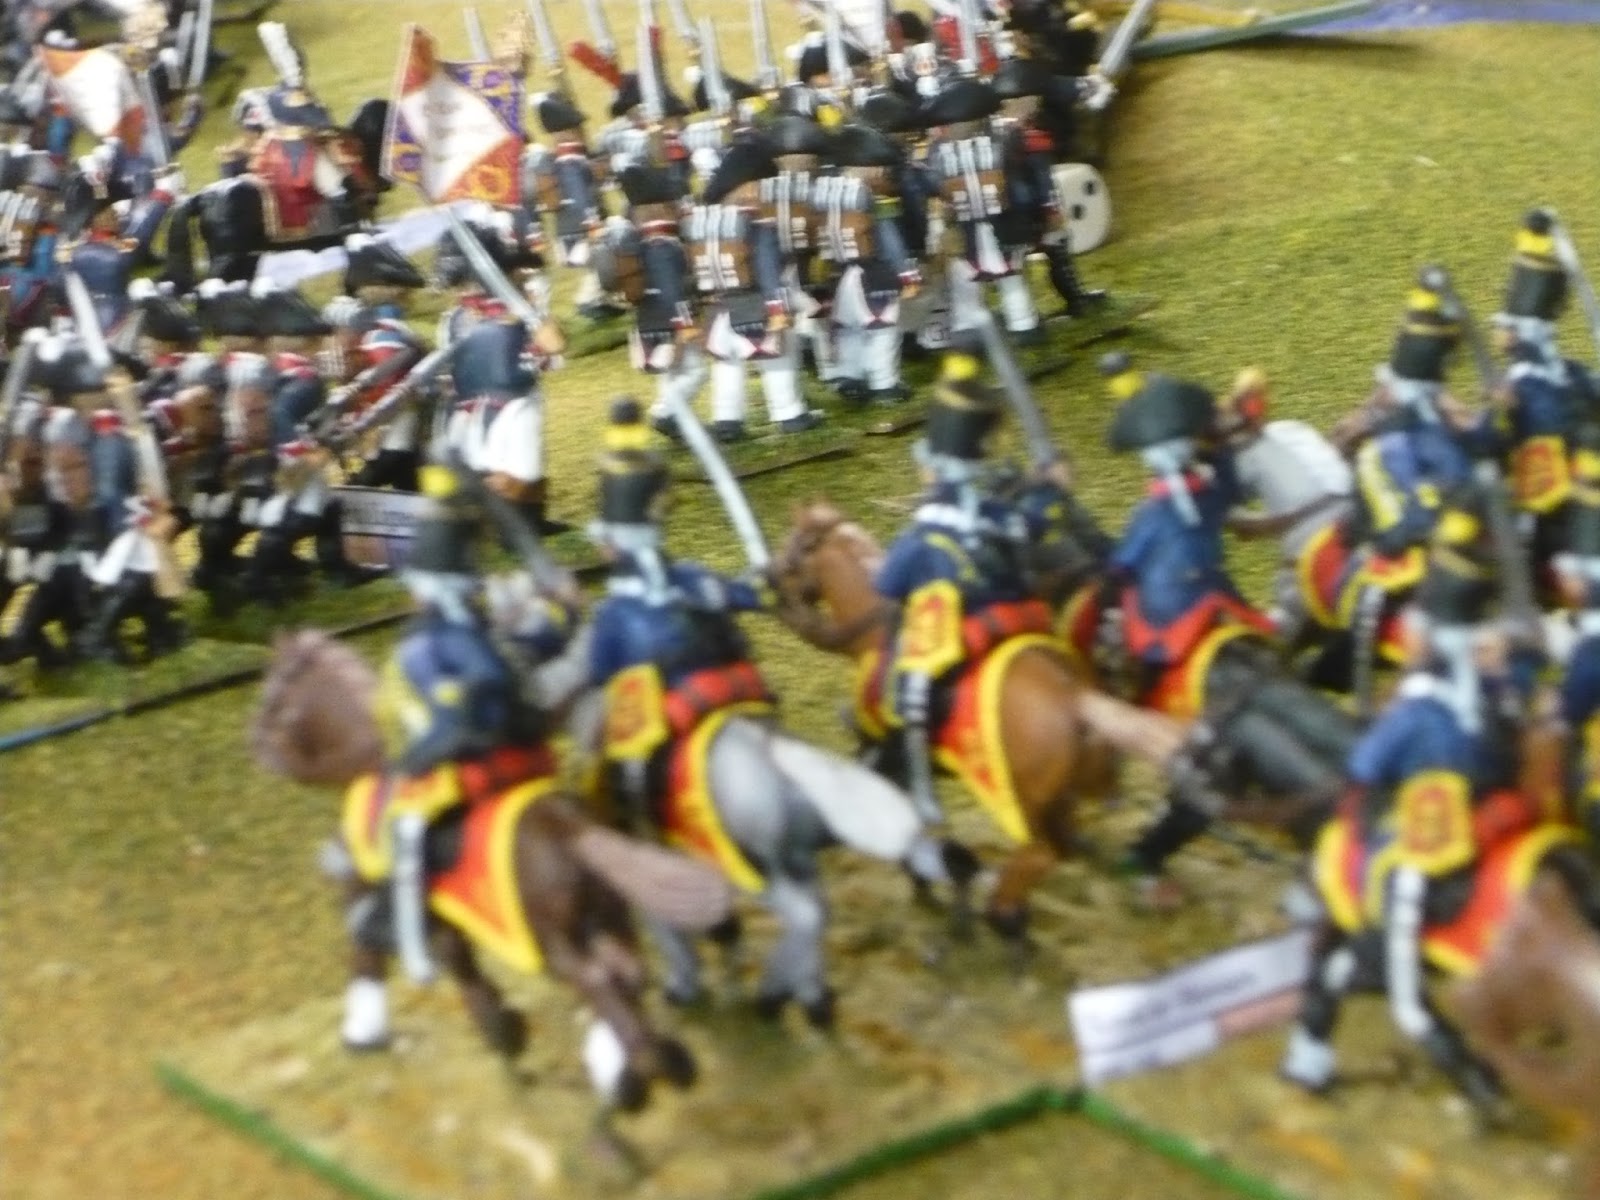
| ...before launching a devastating charge into the French flank! |
 |
| The charge goes into the flank of a Light Infantry column which failed to form square. |
 |
| The charge continues deep into the next few columns. |
 |
| "UURAAAAAHHHH!!!" |
 |
| The hussars finish their charge with four battalions on the run, deep in the heart of the French formation. |
 |
| "RUN AWAY!!!!!" |
 |
| Meanwhile, 1st Column under Dokhtorov (better known as Dr. Love) moves up behind the Fanagoria Regiment of 2nd Column and Advanced Guard cavalry. |
 |
| Fanagoria in mixed order screening 1st Column. |
 |
| Austrian and French columns meet in a mutual charge. Only heads of columns have been moved up. |
 |
| Inconclusive combat forces both sides to their starting points. |
 |
| James (Soult) and John S. (Buxhowden) duke it out in the centre, while Andrew B. looks on. 1st Column moves up in the foreground. |
 |
| As the small French dragoon units moved up in support of the French infantry in front of the Fanagoria regiment, 2nd Column's cavalry detachment took the opportunity charge, forcing the dragoons to flee! |
 |
| The Russian dragoons continue on into the infantry, but as they are in closed column... |
 |
| ...the cavalry bounces back to their starting point. Job done! |
 |
| However, two batteries of Guard artillery unlimber in front of Fanagoria ready to play havoc. |
 |
| The rest of 2nd Column starts to move across the ploughed fields, picking up disorders. I was planning to cross the field in force in order to threaten the artillery, but with French skirmishers active, my troops would not be able to cross the field without picking up maximum disorders. They would be in no condition to confront enemy forces. |
 |
| The Fanagoria regiment should have backed off, or attacked, but remaining where they were was probably the worst option. |
 |
| The remaining Austrians finally succumb after grimly holding on. |
 |
| While the Austrians were being pummelled, further north the Guard cavalry was holding the line against a confused mob of Russian cavalry and infantry remnants. |
 |
| The space around the Guard cavalry shows how open the battlefield was campared to some of our other big games, like Waterloo and Borodino. |
 |
| Looking further north from the Guard cavalry's position, the action becomes even more confused with the Russian Guard in action left, right and centre! |
 |
| Right at the northern end of the battlefield, Bagration continues to pressure Lannes. |
 |
| Back in the centre, Austrian cavalry clash with their French counterparts. With such a large overlap, their success was always likely, but note the approaching Guard infantry in the background! |
 |
| After 1st Column passes through... |
 |
| ...it's time to recall the Austrian cavalry out of harm's way! |
 |
| Note the 3 blown markers representing the 3 full turns needed to regroup recalled cavalry (Another one of funny-man Paul's creations!) |
 |
| Advanced Guard Cossacks get ideas above their station and attempt a charge at the advancing French infantry. As the charge started outside the flank of the target infantry formation, they didn't get the all important flank charge bonus. |
 |
| In they went, surviving the flank fire from adjacent infantry columns, but weren't able to push the attack home, stopping 2" short of the target. |
 |
Not to worry; Dr. Love is in the house!
His charge catches the nearest infantry in the flank. |
 |
| They flee for the hills past the oncoming grognards of the Guard! |
 |
| After dithering for several turns, being chewed up by the Guard Horse Artillery to my front, I launched all three Fanagoria battalions at the batteries. |
 |
Bad mistake!
My best regiment turns tail and runs after suffering heavy losses. |
 |
| Next, the St. Petersburg Dragoons, who did so splendidly against their French opposites, take one too many casualties from artillery fire and also bolt! |
 |
| The last regiment of the 2nd Column leaves the line of the Goldbach to plug the gap made by the collapse of the Fanagorias. |
 |
| Dr. Love's 1st Column re-occupies the Pratzen heights, while the French begin organising a defensive line. |
 |
| The French defensive line takes shape. |
 |
| The rest of 2nd Column try to traverse the ploughed fields, racking up disorders. Fanagoria attempt to rally behind the Jaegers who'd been expelled from the field by the French skirmishers. |
 |
| The French line from east to west, while the 1st Column and Advanced Guard occupy the Pratzen Heights. |
 |
| While the fighting to the south and the north had defined lines, the are to the south of Bellowitz was a confused mish-mash of combats between isolated units with an incredibly high body count, but no advantage to either side. It was in this sector that Grand Duke Constantine was mortally wounded, but his men shrugged off the tragedy and fought on! URRAAH! |
 |
| French forces attempting to support the occupied BUA getting pounded by Russian artillery. |
 |
| Guard Chasseurs move up under fire from the battery in the previous picture off to the left |
 |
| Russian commanders directing fire. |
 |
| Battered Russian Guard infantry still in the field despite heavy losses. |
 |
| Isolated Russian Guard battalion and accompanying infantry support battery in all sorts of bother! |
 |
| At the very north of the battlefield, Bagration had attempted to maneuver around the French flank, but Lannes kept the line... |
 |
| ....anchored on Bellowitz. |
 |
| Bagation's cavalry confront the French infantry, while French cavalry reserves approach in the background. |
 |
| Back in the centre, the French form mixed order to defend against a combined arms advance by the Allies. |
 |
| With the Allies holding the Pratzen Heights and the rallied Austrian infantry of 4th Column appearing on their extreme left flank, the French forces were under pressure. |
 |
| Especially as Allied cavalry were dispatched to assist from the northern parts of the battlefield. |
 |
| Russian dragoons attack the nearest French infantry formation as the Austrians look on. |
|
Note the 3 blown markers representing the 3 full turns needed to regroup recalled cavalry (Another one of funny-man Paul's creations!)
|
 |
| The charge goes in! The Austrians extract a little revenge for their previous mauling. |
 |
Success was short-lived, though. Without fresh reserves, the Austrians were ripe for counter-attack.
|
 |
| First, the weak supporting battalions were screened by a powerful line of light infantry... |
 |
| ...who then bent around to envelop the Austrian flank, while the larger battalion which had previously launched the successful charge is charged in turn by 3 French battalions. |
 |
A week Russian battalion from 1st Column deploys in line to protect the flank vacated by the Austrians.
Quinny looks on in disgust: "Oh for some British Guard infantry!" |
 |
| 1st Column still occupies the Pratzen Heights daring the French to continue their advance. |
 |
| 1st Column on the right and the Advanced Guard on the left ponder their options |
 |
| The French force the issue and charge the artillery and Hungarian infantry of the Advanced Guard. |
 |
| After clearing the artillery and infantry to their front, the French infantry are now confronted by lots of cavalry. |
With both sides having committed their reserves, neither force could land a knock out blow on the other. It was generally agreed that the French won the day on a points decision, with the Allies able to retire from the battlefield in good order.
 |
Not sure whose side this Huntsman was on!
Despite having a leg-span to fit in the palm of your hand, these critters are generally no threat to humans. They just give you a bloody fright when they appear in your peripheral vision! |
 |
After all the fun, the tidying-up process!
These are all the table legs... |
 |
| ...and the table-tops stored in the 2nd shed |
 |
| Tim and Jill now have somewhere to park their cars! |
Again, big thanks to Tim and Jill for hosting these semi-annual events. They really are a highlight of the wargaming calendar.
Thanks to Darren for doing the heavy lifting with the organising; the Orders of Battle, the battlefield planning (including fog rules) and providing a substantial number of troops for both sides. Andrew S. also assisted greatly in these background tasks, but as previously stated, ended up not being able to attend.
Finally, a big thanks to everyone who played, new and old members all (as well as the odd interstate interloper!). It really makes it a great 3 days when everyone plays in the same spirit of friendly competition, before chewing over the day's action over a glass of red (or several!) after one of Jill's superb meals.


