 |
| "Flobba-dob!" Translated: "Have at you, sir!" |
Now why the the reference to an ancient black and white childrens' TV programme, featuring a pair of incomprehensible marionettes? Those of you who know my (not-so-secret) identity will understand this visual gag, but those who don't will be able to guess my first name, at least, from this clue; I was playing against Bill....
In another stand-'em-up, knock-'em-down game with the village at the road intersection the objective, things started out fairly evenly with both sides managing to secure a BUA of the village each. Instead of going for an evenly balanced cavalry arm, I decided to use my heavy dragoons as a shock force in the centre and only have one other regiment of light dragoons out on the left flank. My right I felt would be safe, anchored by the large highlander battalion, which, I felt, would be able to take on whatever came its way.
That may not have been an unfair supposition if I'd been a little more on top of my game! For a start, I threw away the heavy dragoons in the middle after tempting Bill's lancers to charge my Portuguese infantry line. So far, so good. Bill hadn't realised the lancers were classed as light cavalry and that my dragoons, being heavy, outclassed his severely. What should have resulted in a steamrolling only resulted in forcing the French cavalry to retire. Compounding the folly was the fact that the dragoons went battle-mad and were compelled to take the breakthrough, leaving them right in the French line with their flanks well and truly exposed! Next turn Bill turned his artillery battery to fire into the cavalry's flank causing 2 casualties and a morale test, which they promptly lost and broke for the rear.
My lack of cavalry suddenly became acute; the light dragoons were occupied by the French dragoons out on the left flank, so the rest of the French cavalry had free reign to do as they wished. Over on the right flank, the French Chasseurs a Cheval kept the highlanders pinned in closed column, while the lancers in the centre recovered after their mauling by the British dragoons to threaten the Portuguese infantry.
By this stage things were looking a bit crook for the Anglo-Allied forces, so I thought it was time to go all in. I sent three of the 5 Portuguese battalions at the French occupied BUA, hoping to capture it and weather his attempts at trying to seize it back. In a confirmation that I am not very good at attacking BUAs, my attack failed, mainly because I didn't throw the whole brigade in. Rolling a 1 didn't help either! I compounded my folly by moving the light infantry forward to firefight the Swiss infantry in the ploughed field to the right of the village. Not only did I underestimate the distance from the BUA, I didn't take into account that 3 friendly battalions were retreating nearby. Flank fire from the BUA, plus the nearby retreats meant that the light infantry didn't stand a chance and broke to the rear!
That was the point where I lost the game; a gaping hole had opened up on the right and I had nothing to fill it with. The French lancers rode down one of the remaining Portuguese regiments, while the artillery whittled away the lines in front of them. The Franco-Polish infantry pushed steadily forwards and the French dragoons finally saw off their British counter-parts on the left. The coup-de-grace happened on the right flank where the Swiss wheeled into the flank of the highlanders who had unwisely pushed forwards against the chasseurs. On the left flank the 50th had protected the highlanders' flank, seeing off the Irish Legion. I should have anticipated the Swiss move, but thought it wasn't going to happen as soon as it did, so the highlanders were caught in the flank with no comebacks. The resulting morale test was failed spectacularly and the game was declared a French victory!
A couple of take-aways from this game are that:
That may not have been an unfair supposition if I'd been a little more on top of my game! For a start, I threw away the heavy dragoons in the middle after tempting Bill's lancers to charge my Portuguese infantry line. So far, so good. Bill hadn't realised the lancers were classed as light cavalry and that my dragoons, being heavy, outclassed his severely. What should have resulted in a steamrolling only resulted in forcing the French cavalry to retire. Compounding the folly was the fact that the dragoons went battle-mad and were compelled to take the breakthrough, leaving them right in the French line with their flanks well and truly exposed! Next turn Bill turned his artillery battery to fire into the cavalry's flank causing 2 casualties and a morale test, which they promptly lost and broke for the rear.
My lack of cavalry suddenly became acute; the light dragoons were occupied by the French dragoons out on the left flank, so the rest of the French cavalry had free reign to do as they wished. Over on the right flank, the French Chasseurs a Cheval kept the highlanders pinned in closed column, while the lancers in the centre recovered after their mauling by the British dragoons to threaten the Portuguese infantry.
By this stage things were looking a bit crook for the Anglo-Allied forces, so I thought it was time to go all in. I sent three of the 5 Portuguese battalions at the French occupied BUA, hoping to capture it and weather his attempts at trying to seize it back. In a confirmation that I am not very good at attacking BUAs, my attack failed, mainly because I didn't throw the whole brigade in. Rolling a 1 didn't help either! I compounded my folly by moving the light infantry forward to firefight the Swiss infantry in the ploughed field to the right of the village. Not only did I underestimate the distance from the BUA, I didn't take into account that 3 friendly battalions were retreating nearby. Flank fire from the BUA, plus the nearby retreats meant that the light infantry didn't stand a chance and broke to the rear!
That was the point where I lost the game; a gaping hole had opened up on the right and I had nothing to fill it with. The French lancers rode down one of the remaining Portuguese regiments, while the artillery whittled away the lines in front of them. The Franco-Polish infantry pushed steadily forwards and the French dragoons finally saw off their British counter-parts on the left. The coup-de-grace happened on the right flank where the Swiss wheeled into the flank of the highlanders who had unwisely pushed forwards against the chasseurs. On the left flank the 50th had protected the highlanders' flank, seeing off the Irish Legion. I should have anticipated the Swiss move, but thought it wasn't going to happen as soon as it did, so the highlanders were caught in the flank with no comebacks. The resulting morale test was failed spectacularly and the game was declared a French victory!
 |
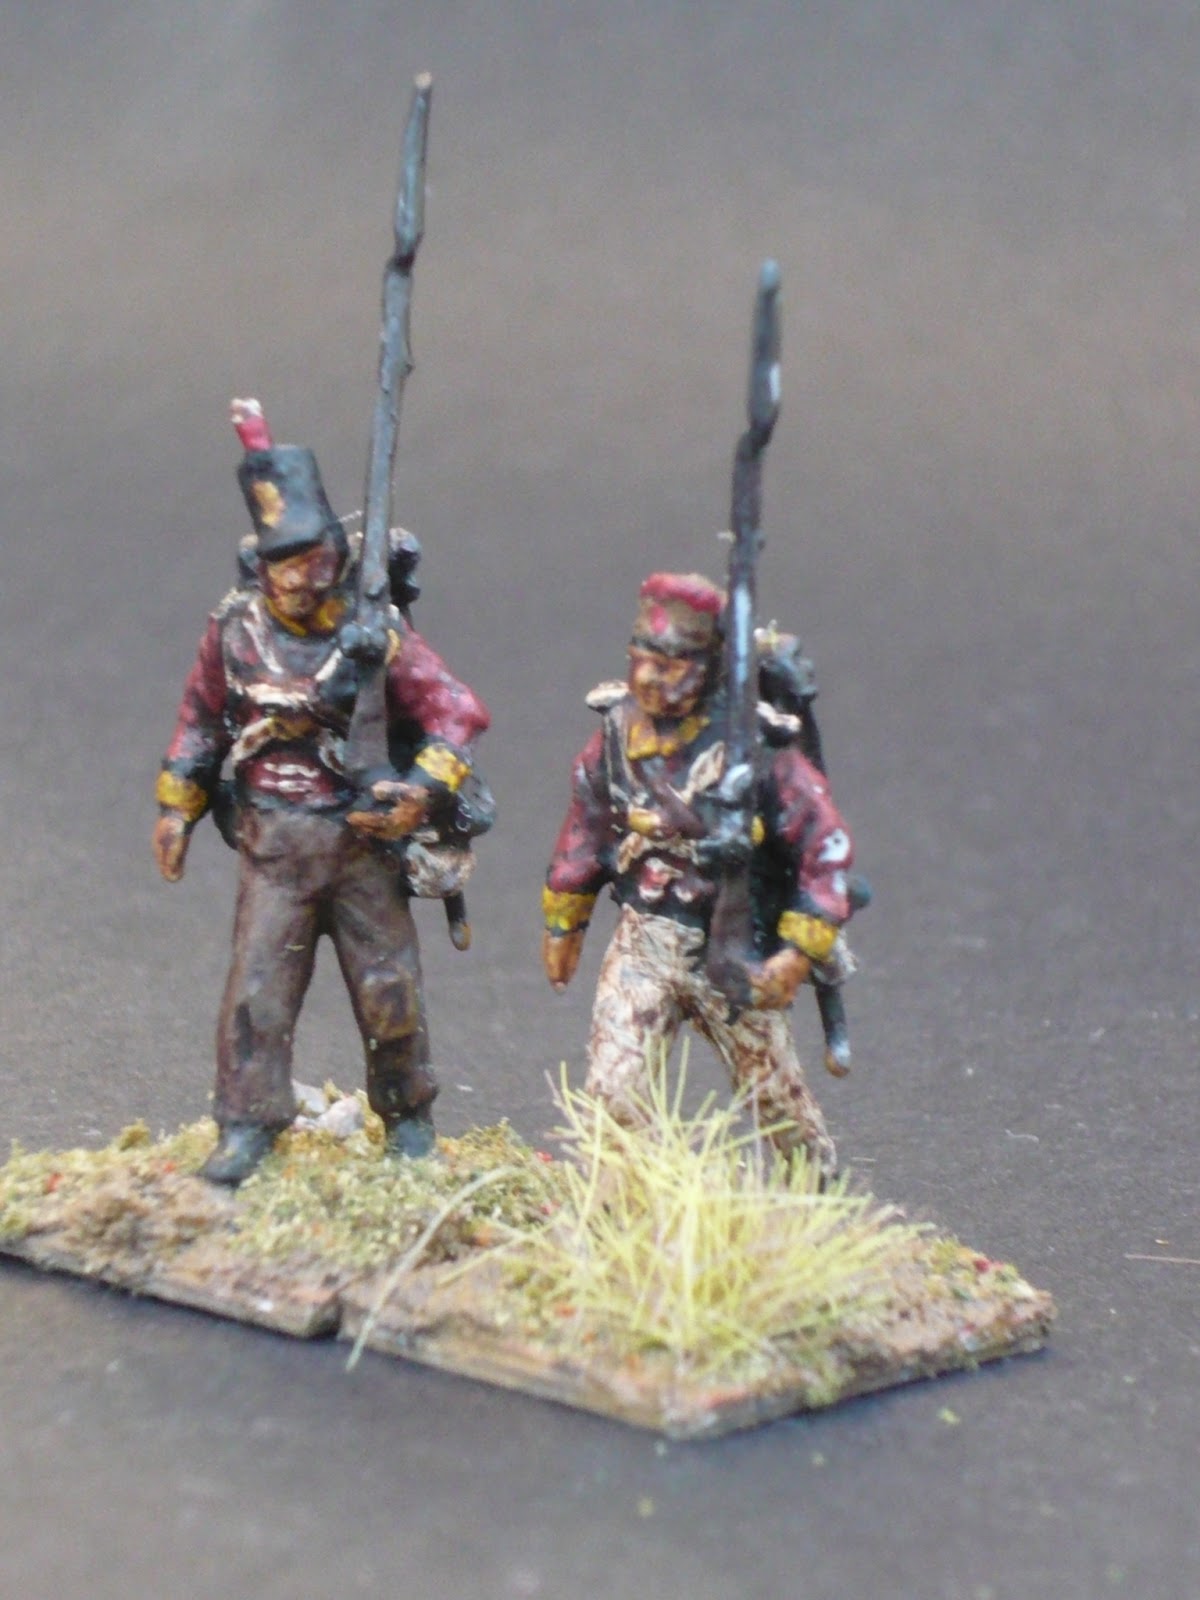
| The new, improved 92nd! |
 |
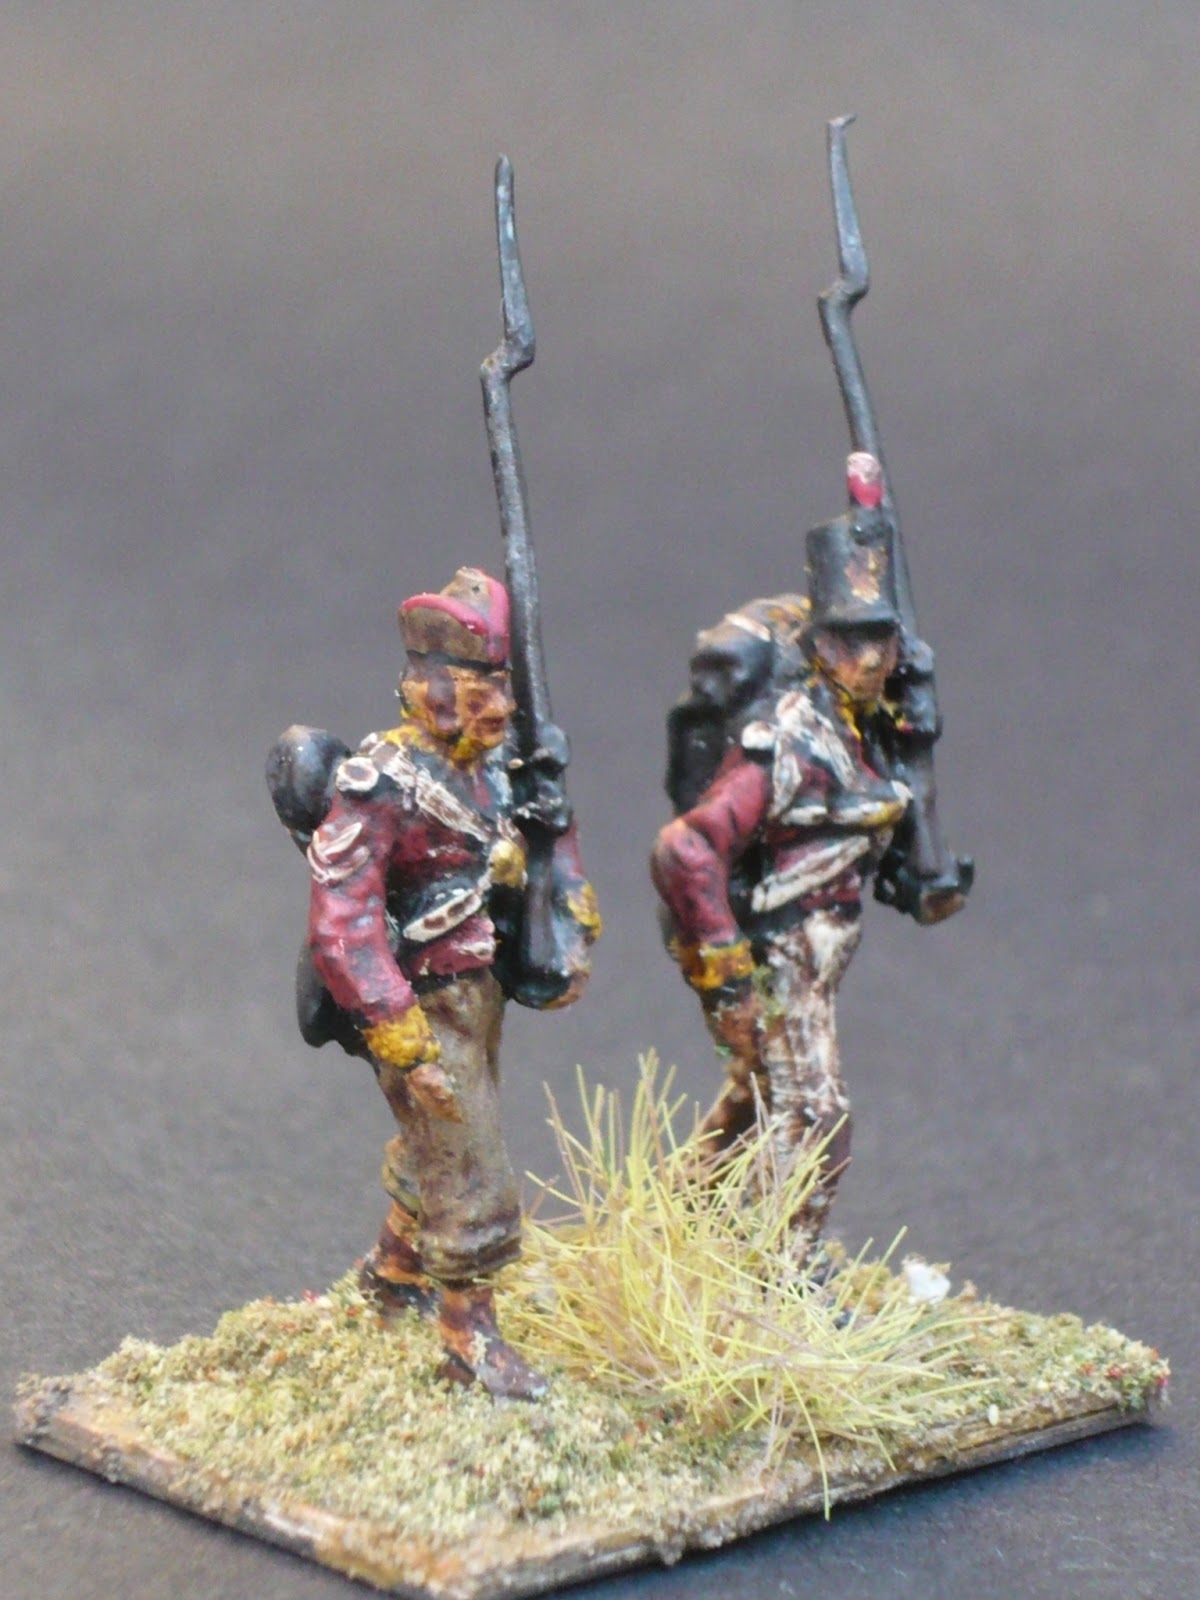
| The other new battalion gets its first taste. |
 |
| The field of battle, with the objective in the centre. |
 |
| Bill's polyglot French forces |
 |
| His Foot Dragoons make the early running. |
 |
| The rest of his troops make the high ground on the left... |
 |
| ...and on the right. |
 |
| The new battalion fans out into line... |
 |
| ...next to the Buffs on the rear slope of the rise. |
 |
| The Gordons form a closed column in the face of French cavalry |
 |
| The French view |
 |
| The Portuguese form up on the village |
 |
| An indecisive cavalry encounter out on the far left. |
 |
| But in the centre, the dragoons shape up to the lancers. |
 |
| CRASH!!!! |
 |
| And the silly bu&%ers go battle-mad! Note the artillery battery to the right. |
 |
| RUN AWAY!!!!!! |
 |
| It's up to us now, boys! |
 |
| The thin red line |
 |
| The French artillery in the rough ground whittle down the infantry on the extreme left, while the French dragoons wait their turn. |
 |
| The crisis point is reached: the Portuguese charge on the BUA goes in! |
 |
| FLUB! |
 |
| The light bobs have their rush of blood to the head and advance to firefight, copping all the negatives from flank fire and retreating friendlies. SIGH! |
 |
| RUN AWAY!!!!! |
 |
| The big gap in the centre vacated by the Portuguese and light bobs. |
 |
| Bill's recovered lancers give the remaining Portuguese what-for after they failed to form square. |
 |
| RUN AWAY!!!! |
 |
| The provisional battalion tries a little tricky manoeuvre into the rear of the limbered artillery, but it was too little, too late by this stage and broke up the line to the left of the village. |
 |
| The Buffs and Poles duke it out. |
 |
| But there's a big gap between the nearest infantry lines and the French are about to fill it! |
 |
| The French guns whittle away the infantry and cavalry to their front with nothing to answer them. |
 |
| On the right flank, the highlanders advance, pushing back the cavalry, while the 50th Foot screen their right flank against the renegade Irish. |
 |
| Whoops! Here comes the Swiss! |
 |
| RUN AWAY!!!!! |
 |
| The Irish charge the 50th... |
 |
| ...who manage to halt them with a well aimed volley, despite the flight of the highlanders. |
 |
| The provisional battalion weren't able to prevent the battery unlimbering and firing into their flank! |
 |
| The Buffs get flanked |
 |
| The final cavalry stoush: |
 |
| CHARGE!!!! |
 |
| Ends with the British cavalry routed and the victorious French dragoons crashing into the infantry, who were unable to form square. GAME OVER! |
- I am rubbish at assaulting BUAs
- I am rubbish at estimating distances from BUAs
- Just because I can, doesn't mean I should just push everything into the front line.
- A cavalry threat isn't a threat if it is thrown away to no benefit.


